Inline Edit Validation Rules
Attach validation rules to individual columns so that bad data never reaches your Gravity Forms entries. When a user attempts to save an inline-edited cell that fails a rule, the save is blocked and a descriptive error message appears directly below the input.
Requires TableCrafter Pro. Validation rules are a Pro-only feature. Free-tier tables never receive validation configuration, even if someone attempts to inject rules via a hand-edited request payload. See Pro Security Enforcement below for details.
Overview
TableCrafter's inline editing lets authorized users click any editable cell in a frontend table and update the underlying Gravity Forms entry without leaving the page. Validation rules extend that workflow by letting you define what constitutes a valid value for each column before the save reaches the server.
Validation is configured per column in the admin table builder and stored alongside the rest of the table configuration. At render time, the rules are embedded in the JavaScript configuration for the table (Pro license check gates this output). When a user commits an edit, the rules are evaluated client-side to give immediate feedback, and the save is also validated server-side before the Gravity Forms entry is updated.
Rules work across all three input types that the inline editor supports:
- Text inputs (single-line text and number fields)
- Textarea inputs (paragraph / long-text fields)
- Dropdown selects (choice fields, including Gravity Forms dropdown and radio fields mapped to a select)
Enabling and Configuring Rules Per Column
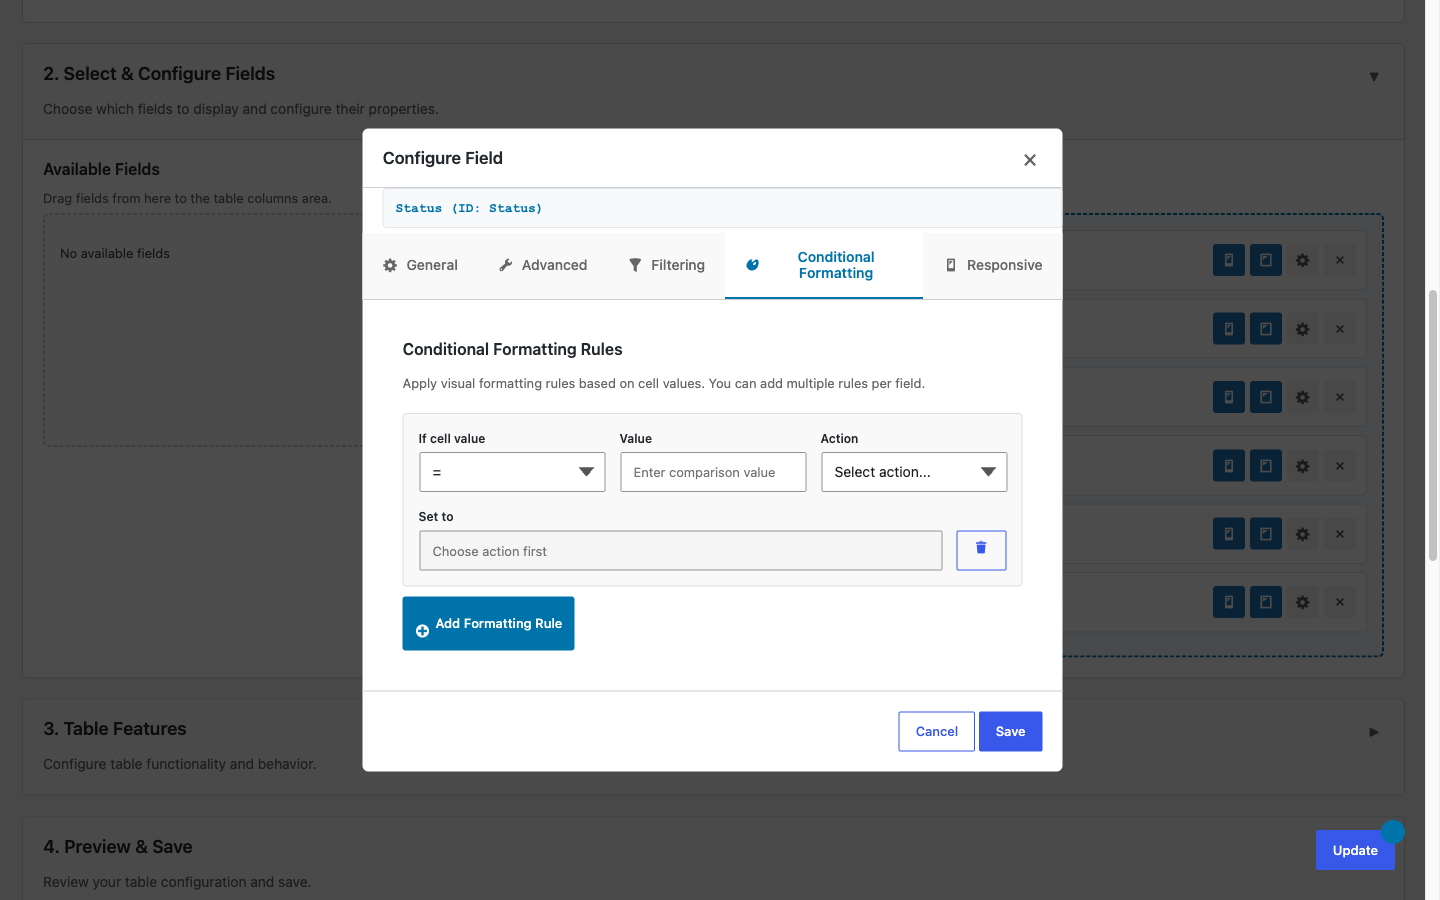
Validation rules are set in the field configuration modal inside the TableCrafter admin builder. Open WordPress Admin → TableCrafter, open or create a table, then locate the column you want to constrain in the drag-and-drop column list.
- Click the gear icon on the column row to open the field configuration modal.
- Make sure Allow Inline Editing is toggled on for that column. The Validation tab only appears when inline editing is enabled for the column.
- Click the Validation tab inside the modal.
- Click Add Rule to add one or more rules to the column.
- For each rule, choose a Rule Type from the dropdown and fill in the corresponding value and, for
regex, a custom error message. - Click Save Column to apply. The rules are saved as part of the table configuration.
You can add multiple rules to a single column. All rules are evaluated on each save attempt; all failures are reported simultaneously so the user sees every problem at once rather than one at a time.
You do not need to add a required rule just because a Gravity Forms field is marked required in the original form. Gravity Forms' own required-field setting applies to form submissions, not to inline edits through TableCrafter. If you want a column to be non-blank on inline save, add an explicit required rule here.
Rule Types Reference
Five rule types are available. Each is evaluated independently; a column can have any combination of them.
| Rule Type | Applies To | Configuration Value | Example |
|---|---|---|---|
| required | All input types | None (toggle only) | Prevents saving an empty cell. Error: "This field is required." |
| min_length | Text, textarea | Integer — minimum character count | min_length: 3 — rejects "AB". Useful for reference codes, names, or notes fields with a minimum meaningful length. |
| max_length | Text, textarea | Integer — maximum character count | max_length: 50 — rejects values longer than 50 characters. Protects database columns or display widths. |
| min_value | Number (text input) | Numeric — minimum allowed value | min_value: 0 — rejects negative weight entries in a load-tracking table. |
| max_value | Number (text input) | Numeric — maximum allowed value | max_value: 80000 — caps a "Gross Weight (lbs)" column at federal limit. |
| regex | Text, textarea | Pattern string + custom error message | ^[A-Z]{2}\d{6}$ — enforces a "AB123456" load reference format. Error: "Must be 2 uppercase letters followed by 6 digits." |
Regex patterns should be entered without surrounding delimiters (no leading/trailing /). The pattern is tested as a JavaScript RegExp client-side and as a PHP preg_match server-side. Flags are not supported; use inline flag syntax ((?i)) if case-insensitivity is needed.
How Save Blocking Works
When a user commits an inline edit (via the Enter key, the Tab key, or clicking away from the cell), TableCrafter runs the following sequence:
- Client-side validation — The rules embedded in the table's JS config are evaluated against the current input value immediately, before any network request is made. If any rule fails, the save is aborted and the error message(s) are rendered below the input. No AJAX request is issued.
- Server-side validation — If client-side passes, the value is sent to the TableCrafter AJAX save endpoint. The server re-evaluates all rules from the stored table configuration (never from the request payload). If server-side validation fails for any reason (e.g., the JS was bypassed), the save is rejected and an error response is returned to the frontend, which surfaces it as an inline error.
- Gravity Forms entry update — Only after both layers pass does TableCrafter call the Gravity Forms API to update the entry field value.
The cell remains in an editable state after a validation failure, so the user can correct the value and try again without having to re-click the cell. The error message clears automatically when the user modifies the input.
All three save triggers are covered. Pressing Tab to move to the next cell, pressing Enter to confirm, and clicking outside the cell (blur) all go through the same validation path. There is no way to accidentally bypass validation by using a different interaction pattern.
Error Message UX
Error messages appear inline, directly below the input that failed validation. They are not modal popups, toast notifications, or browser alert() dialogs. This keeps the user's focus on the specific cell that needs correction.
The error container is a <div> with the class .gt-validation-error injected below the input element inside the active cell. You can target this class in your theme's CSS to adjust color, font size, or spacing to match your site design.
Default behavior:
- Error text is displayed in a red/destructive tone using the table's existing color scheme.
- If multiple rules fail simultaneously, each error is listed as a separate line.
- The error clears as soon as the user begins typing a corrected value.
- If the user presses Escape to cancel the edit, errors are discarded with the edit.
For regex rules, the error message shown is the custom message you provide in the admin builder, not the raw pattern. Always write your custom message in plain language that makes sense to the end user. For example, instead of "Value does not match ^[A-Z]{2}\d{6}$", write "Enter a load reference in the format AB123456."
For required, min_length, max_length, min_value, and max_value rules, TableCrafter generates the error message automatically (e.g., "Minimum value is 0"). You do not need to supply a message for these types.
Admin Configuration and JSON Structure
The following illustrates what a column configuration looks like after adding validation rules in the admin builder, and how that configuration is stored in the table's JSON config object.
Example: "Gross Weight (lbs)" column for a load-tracking table
In the field configuration modal, the Validation tab would have two rules configured:
- Rule type:
required - Rule type:
min_value, Value:1 - Rule type:
max_value, Value:80000
These rules are serialized into the table configuration stored in the WordPress database. The relevant portion of the stored JSON structure looks like this:
// Excerpt from the stored table column configuration
{
  "field_id": 14,
  "label": "Gross Weight (lbs)",
  "inline_edit": true,
  "validation_rules": [
    {
      "type": "required"
    },
    {
      "type": "min_value",
      "value": 1
    },
    {
      "type": "max_value",
      "value": 80000
    }
  ]
}
A column using a regex rule (for example, enforcing a structured load reference code) would look like this:
{
  "field_id": 7,
  "label": "Load Reference",
  "inline_edit": true,
  "validation_rules": [
    {
      "type": "required"
    },
    {
      "type": "min_length",
      "value": 8
    },
    {
      "type": "max_length",
      "value": 8
    },
    {
      "type": "regex",
      "pattern": "^[A-Z]{2}\\d{6}$",
      "message": "Enter a load reference in the format AB123456."
    }
  ]
}You do not need to edit this JSON directly. It is shown here for reference and for developers using the tablecrafter_column_config filter. All rules are managed through the admin UI.
Pro Security Enforcement
Validation rules ship with a two-layer enforcement model designed to ensure that free-tier users and unauthenticated visitors cannot receive or exploit validation configuration, even via manual payload manipulation.
Layer 1: Render-time strip
When TableCrafter outputs the table's JavaScript configuration to the page, validation rules are included in that output only if the current site has an active Pro license. Free-tier sites receive a JS config with validation_rules omitted entirely from every column. There is no client-side validation for free tables because the rules are never present in the page source.
Layer 2: Persist-time strip
When the inline-edit save AJAX endpoint receives a request, it loads the validation rules exclusively from the server-side stored table configuration. It does not read, trust, or use any rule data that might be present in the request payload. Even if a free-tier user hand-crafted a POST body that included fabricated validation_rules, the server would ignore them entirely.
Combined, these two layers mean:
- Free users never see validation rule configuration in the admin builder (the Validation tab is hidden).
- Free users never receive validation rule data in the frontend JS config.
- No crafted payload can introduce validation behavior on a free-tier site.
- Pro validation is enforced server-side on every save regardless of client-side state.
This design means validation is a data integrity guarantee, not just a UX hint. Even if a Pro user's browser has JavaScript disabled or a browser extension intercepts the inline-edit request, invalid values are still rejected at the server before touching the Gravity Forms entry.